- Home
- Photo Collections
- Manhattan Beach
- South Bay
- California
- USA
- World
- Anthro Graphics™
- Manhattan Beach
- Gallery
- Posters
- Projects & Features
- Pricing
- Contact
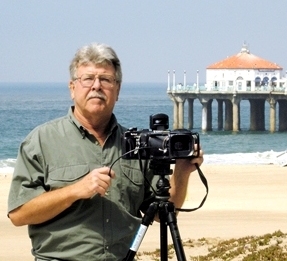
- John

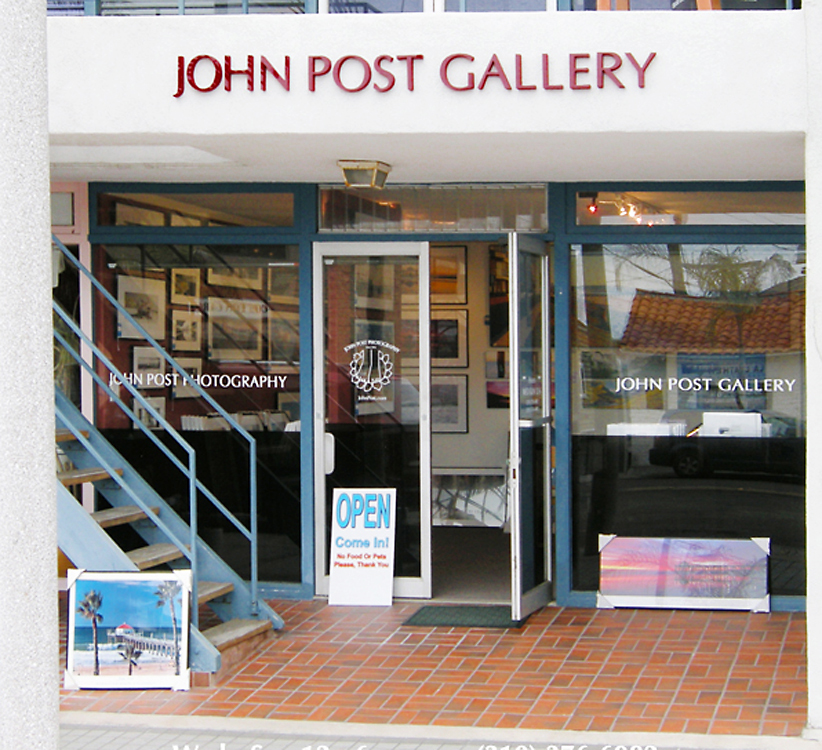
The John Post Gallery (310) 376-6982
Manhattan Beach & South Bay's Premier Photographer Since 1976
808 Manhattan Ave, Manhattan Beach
Hand-Colored Black & White Infrared Photographs
John's Hand Colored Infrared Collection
JohnPost.jpg)
Hilo Drive Hand Colored Infrared
Throughout his photographic career John Post has produced images using Kodak Black & White Infrared film.
Utilizing the inherent and unique characteristics of B&W Infrared film (Infrared film responds to heat as opposed to visible light for exposure), John specifically searches out exotic subjects and unique scenes that add to the surreal fantasy and visual intrigue already portrayed by the Infrared film. Some of his earliest works were produced with B&W Infrared film.
In 1998, with the introduction of the Hasselblad XPAN film camera, John embarked on a new series of Infrared images. With the XPAN he could now shoot B&W Infrared panorama images to compliment his large format color panorama photographs that he has been shooting since 1989. In 1999 John began personalizing the images even more by using a technique that goes back over 100 years, that of individually Hand-Coloring the Black and White photo print itself.
For this process John first prints the image on Black and White fiber based photo paper then, using Marshalls Photo Coloring Pencils he creates a one-of-a-kind final image. On close inspection of the images, you can see the actual pencil marks and texture, making each print unique and individual.
In 2005 Hasselblad discontinued making the XPAN camera and then, in 2006 after more than 70 years in production, Kodak officially stopped producing its B&W Infrared film. These decisions by the film and camera manufacturers makes these images produced with Kodak B&W Infrared film and the Hasselblad XPAN camera that much more collectible for the photographic connoisseur.
Each photo print is Signed, Titled and Dated as to when that particular print was Hand Colored
With any of these Hand Colored photo images you are truly purchasing an authentic ONE-OF-KIND photograph and Photo Print, personally Printed and Hand Colored by John Post.
How it’s Done
Hand Coloring Infrared Prints, Sequence
The following sequence shows the stages of a hand colored print.
For hand coloring my infrared images I use Marshalls Photo Coloring Pencils. I have tried using oils, pastels, etc., and other brands but find Marshalls Pencils work best allowing for the most control to color in fine detail.
JohnPost.jpg "Step 1 How To Color Infrared")
Step 1. I make a nice black & white print on Ilford fiber based non-glossy lustre paper that has nice black & white tones and a slight tooth to the surface for coloring.
JohnPost.jpg "Step 2 How To Color Infrared")
Step 2. I sit down and look closely at the print to visualize where I want to randomly start the coloring process. To choose the pencil color I want to start with I do a little scratch-test with the pencil color on the white edge of the print (see final image). As the coloring process continues this scratch test is done before applying any color. The starting point and color is never the same even when doing another print of the same image.
In the coloring process I let the print itself dictate what is colored, where, when and what colors are used. It is a very intuitive and flowing situation.
JohnPost.jpg "Step 3 How To Color Infrared")
Step 3. Finish coloring. It usually takes several hours to color one print. Occasionally things don’t want to flow easily and I have to stop the coloring process and return to it later in the day or sometimes even days later when the print ‘lets me know’ it is ready to be finished.
JohnPost.jpg "Step 4 How To Color Infrared")
Some images ask for and require more colors and detail than others and the challenge often is knowing where and when to stop. Depending on the image, where and when to stop usually becomes obvious, the image says ‘enough already’. It’s that simple.
Welcome to the World of Anthro-Graphics
ANTHRO-GRAPHICS are designed for display in both the home and office. The prints portray man and his environment through the photography of John M. Post. "ANTHRO-GRAPHICS" is a registered trademark and all images on this site are Copyright John Post, registered with the Library of Congress in Washington, D.C. Copyright John Post © 2026 All Rights Reserved. UNAUTHORIZED USAGE OR DOWNLOADING IMAGES IS ILLEGAL. NO reproduction or copies or use in any form (electronic or otherwise) is allowed or granted without written permission by John Post or his authorized agents.
Web Design and Maintenance by Steve Snively Effective eMarketing.